Which Type of Radiation Survey Meter Should We Use?

Regulations do not specify what type of radiation meter is to be used. There are a variety of radiation survey meters and types available on the market. Too many assume radiation meters and detectors are all identical so acquiring one at the most affordable price is all that matters. This is absolutely not the case; there’s a whole lot more to radiation meters than price alone. Radiation meters range from expensive to cheap, complicated to simple, hard to read to easy, and rugged to fragile.
Each radiation meter type has different detection characteristics and sensitivities largely due to the type of detector employed. So matching the mission or application in which it is to be used to the correct detector type is very important. One very key criteria for measuring dose is ensuring your detector has sufficient sensitivity to measure background levels. More often than not, the least expensive radiation detectors are also the least sensitive.
When selecting a radiation meter/detector be sure to look at the detector count rate at background levels that are normally between 5 to 15 micro Roentgens per hour (uR/hr). A highly sensitive NaI type detector, as referenced below, typically has a sensitivity of 175 cpm/uR/hr so at 10 uR/hr, the count rate is 1750 cpm which provides pretty good statistics. By contrast, a GM pancake type detector only produces 3.3 cpm/uR/hr with a total of 33 cpm in a 10 uR/hr field. This is not only 53 times less sensitive, it is also does not give a statistically good result and cannot easily see small changes in background levels.
Radiation Safety Officers have two primary missions relative to radiation detection:
- Verify that the dose rates in an area are not elevated so any surrounding personnel will not pick up unnecessary dose
- Verify that objects or personnel are not contaminated with radioactivity
Some radiation detectors do both functions, but not equally well. Ideally, you would have a separate radiation meter/detector for each function.
Here are the most common types of radiation detectors, their intended purpose, and their pro’s and cons.

Ion Chambers
Pro’s: Absolutely the very best detector system for measuring dose rates and dose. This type of detector produces the most pure and accurate dose rate measurement for gamma and x-ray energies. It’s also the very best instrument of choice when calculating dose assessments.
Con’s: Is not the most sensitive or responsive at low background radiation levels even though it will still be reasonably accurate. You just need to be a little more patient in taking readings at lower levels. The other drawbacks are they are more expensive, larger in size, and need to be treated more carefully. They also do not measure contamination.

Micro-R Meters
Pro’s: Highly sensitive and can detect very small changes in background in the micro-R range. The industry standard is a 1” x 1” NaI (Sodium Iodide) detector. If the instrument units can be switched to counts per second (CPS) it can also be used to detect contamination.
Con’s: These detectors respond differently to different energies. They are typically calibrated to Cs-137 (660 keV energy level). Any deviation to the energy being measured needs to be considered, especially if assessing one’s true dose.
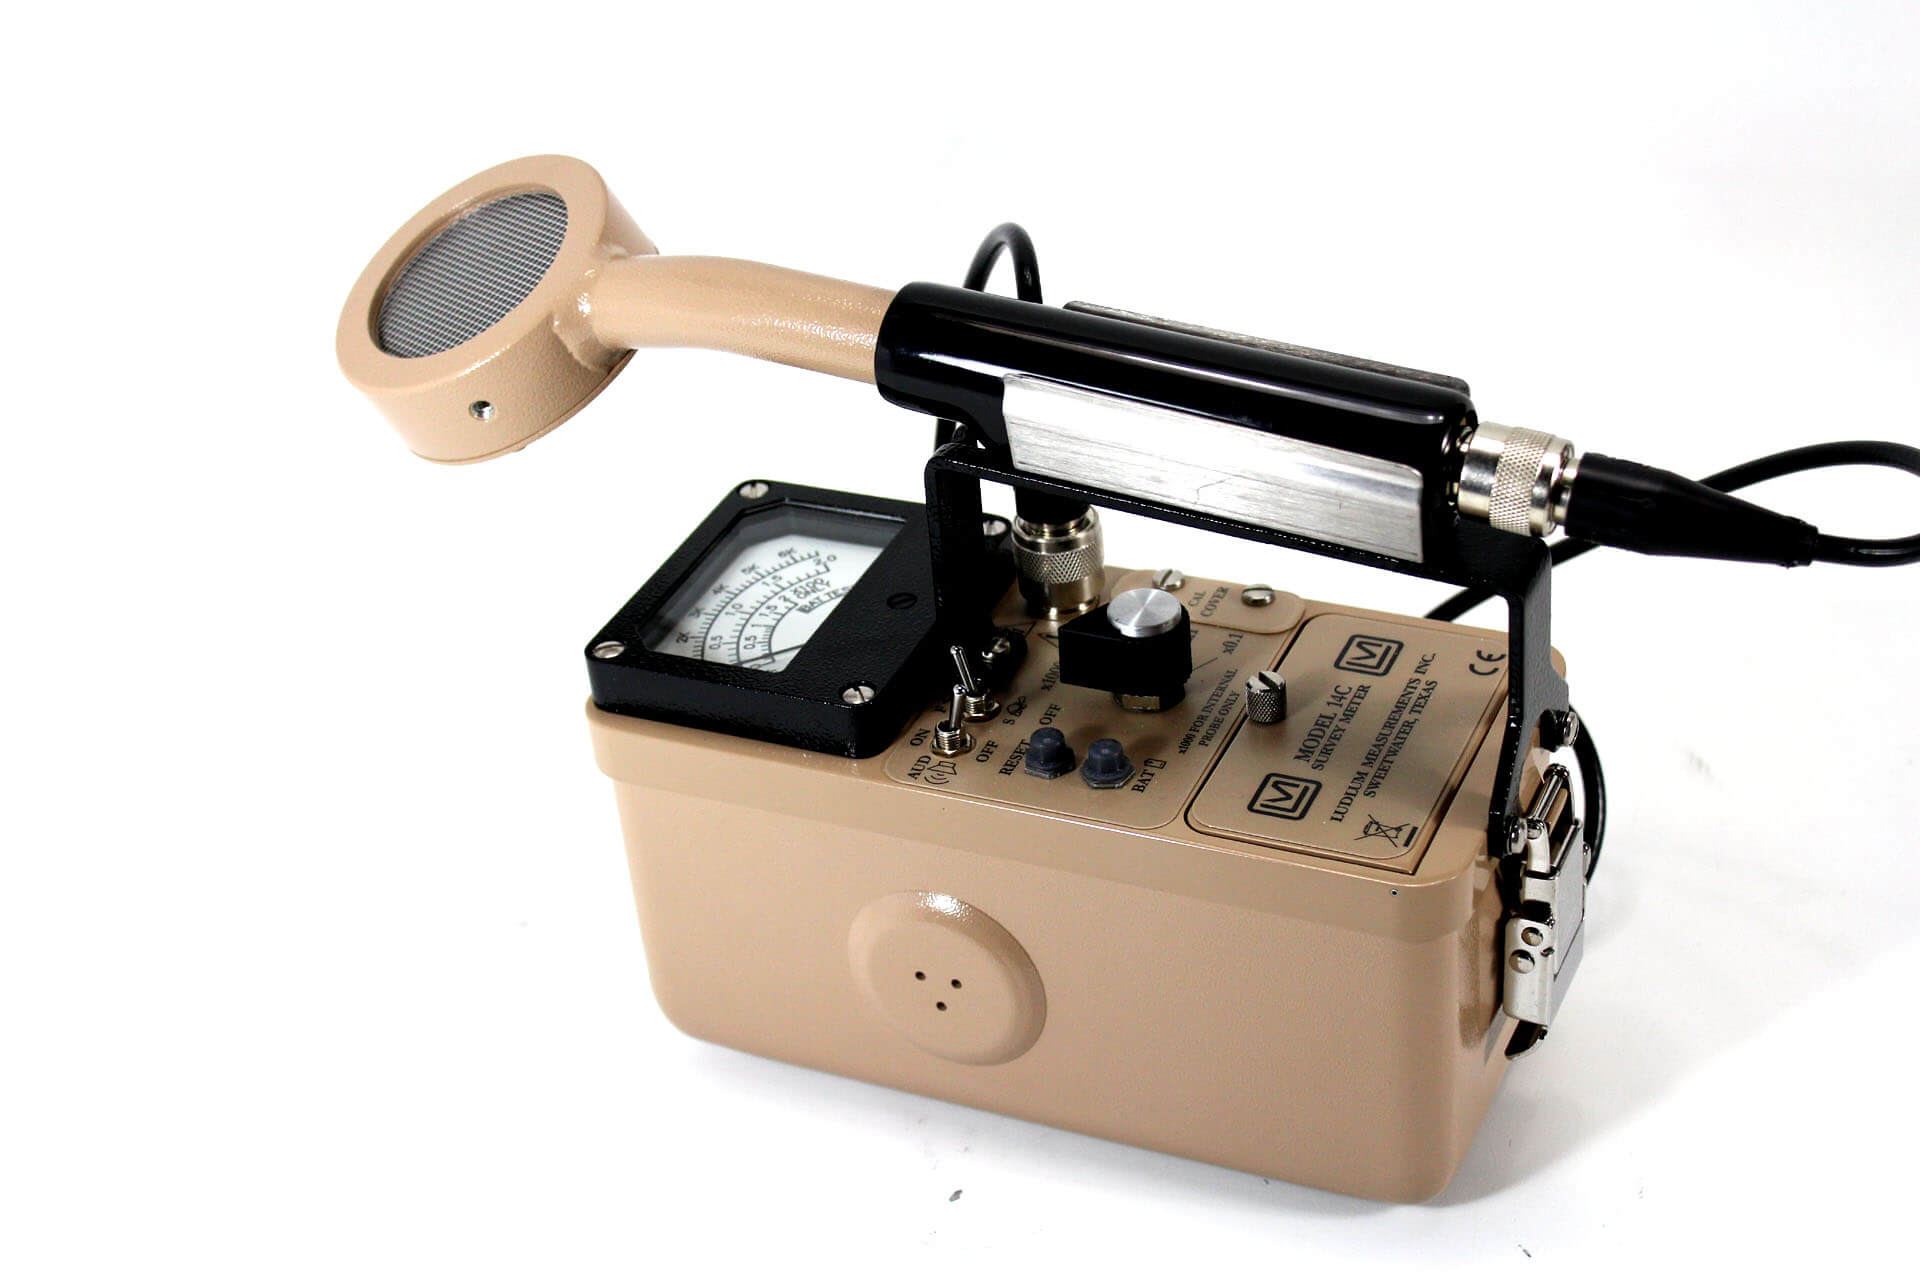


GM Meters
Fundamentally, there are three basic types of Geiger-Mueller (GM) counter detectors, so it’s important to know which detector type is being used in the radiation meter you have or are considering to purchase.
- Energy Corrected GM
- Pro’s: These detectors have a surrounding matrix of metals to soften detection to high energies while still maintaining the right balance of low energies to produce a fairly linear energy curve response. When measuring dose rates and dose, this is the preferred type of GM detector. You must be sure that the dose rate range of the detector meets your detection range. Beware of those who claim the detection range goes from zero to a very high range as they deliver very low sensitivity at low ranges where you normally are trying to measure. Higher dose rate detectors are purposefully designed to detect elevated levels while sacrificing lower range sensitivity.
- Con’s: Cost a little more. Is not the right type of detector for measuring contamination.
- Non-Energy Correct GM
- Pro’s: least expensive GM type of detector
- Con’s: Not energy corrected, do not recommend using these for industrial applications unless you’re only using these as a gross indicator of relative levels to spot problems and then use a better detector to perform actual dose rate and dose measurements
- GM Pancake
- Pro’s: Great detector for seeking contamination and displaying activity in cpm. Most instruments employing these types of detectors will also present dose rate and dose measurements making them both versatile and affordable.
- Con’s: These detectors are very inefficient when measuring dose rate and dose. They are also not energy corrected and can produce different readings depending on the orientation of the detector to the source. This type of detector also has a known over-response to certain lower energies upwards of 300%. It’s common practice to point the backside of the detector (instead of the face) towards the object being measured when taking a dose rate measurement. This can be challenging when the detector is not separate from the instrument.
After selecting the correct detector, the meter functionality and ease of use features come into play. Most older style radiation meters employed analog meters and scale switches. The analog scales are typically what trip most users as they can be complicated. Some meters have multiple scales and the instrument operator has to know which one to look at to get an accurate reading. Analog scales come in varieties of linear and logarithmic form, so users need to understand how to interpret the one they are using correctly. With analog type meters, users have to constantly and correctly view the right meter scale, look at the value, and then multiply the value by the selected range switch value in their mind to determine the final measurement value. This takes training and can often lead to a misinterpreted reading.
More modern electronics now afford direct digital readouts with automatic range-switching so users have no doubt what the measurement value truly is. One advantage of an analog meter scale though is the sense of upward or downward movement and trending which is readily visible whereas one has to interpret this on a digital readout that only displays a numerical number that is constantly being updated. Some digital meters include both a reading and an analog display to give you the best of both worlds.
Verify Your Radiation Meter Meets Operational Environmental Conditions
It’s not enough that a radiation meter meets the type of measurement and proper detection range. Another key factor is verifying the radiation meter operating environmental specifications meets your true operational conditions. Temperature, moisture, and EMF/RFI interferences can cause unwanted anomalies that may skew your measurement readings.
If you are operating in excessively low or high temperatures, your meter may have electronic or detector limitations. Depending on the detector type, they may need to be turned on and warmed up for a few minutes before becoming operational. In other cases, temperature shock, going from normal to extremely cold or high temperatures can cause anomalies or in some cases detector damage. LCD’s and batteries often have greater temperature limitations than do the detectors, so be sure that your instrument will function properly in the environment in which you will be operating the instrument.
If there is ever a question, ask the manufacturer to see if they have a report for your instrument where it was tested to ANSI N42.17. The report will provide you with any specific performance degradation or issues, if there are any, for the conditions you will be operating under. These reports are not intended to state the instrument meets all conditions, but to accurately report their behavior. It is up to the user to determine whether the reported behavior is acceptable under your operational conditions.

Properly Calibrated Radiation Meters
Radiation meters and detectors are to be calibrated as a minimum annually or as indicated by the manufacturer, if it is shorter than once per year. In no case shall it be more than one year.
Each time a meter is used, the user should be trained to verify that the meter is still in calibration before use. If not, the user should notify the proper manager or RSO. Instruments out of calibration should not be used.
It’s important to recognize that these are scientific type of measurement systems and can be prone to electronics drift or detector sensitivity losses. Their calibration can also be adversely impacted if the instrument is accidentally dropped, bumped, or if their batteries are running low.
Radiation meters and detectors should be calibrated at a laboratory using radiation sources with traceability to NIST and have a Quality Management System conforming to ISO 17025. This ensures not only a proper measurement but will also better protect you in the event of a lawsuit if a dose assessment comes into play. In such cases, you don’t want to be caught using an improperly calibrated or out of cal instrument.
Calibration cycles times at laboratories typically take from 5 to 10 days. With shipping, the meters could be out another week or two in travel so plan ahead to accommodate what may take a complete month. Here again it’s always good to have a backup or second meter available.

Radiation Meter Calibration Records
Calibration records for the radiation meters must be retained for 3 years (10 CFR 20.2103(a).